Transferring your website to a new hosting provider can be a complex task. To make this process easier, we offer a free website migration service. In this guide, we will explain the steps to request a free migration and what information you need to provide.
- Gather the necessary information
Before requesting a migration, you will need to gather the following information:
- Your current hosting provider’s name
- Control panel URL, username, and password for your current hosting account
- FTP or SFTP login details (hostname, username, and password)
- Email usernames and passwords
- List of domains and subdomains you want to migrate
- Any specific requirements or custom configurations
- Submit a migration request
To request a free website migration, follow these steps:
- Log in to your client area on our website.
- Open a ticket with the migrations department
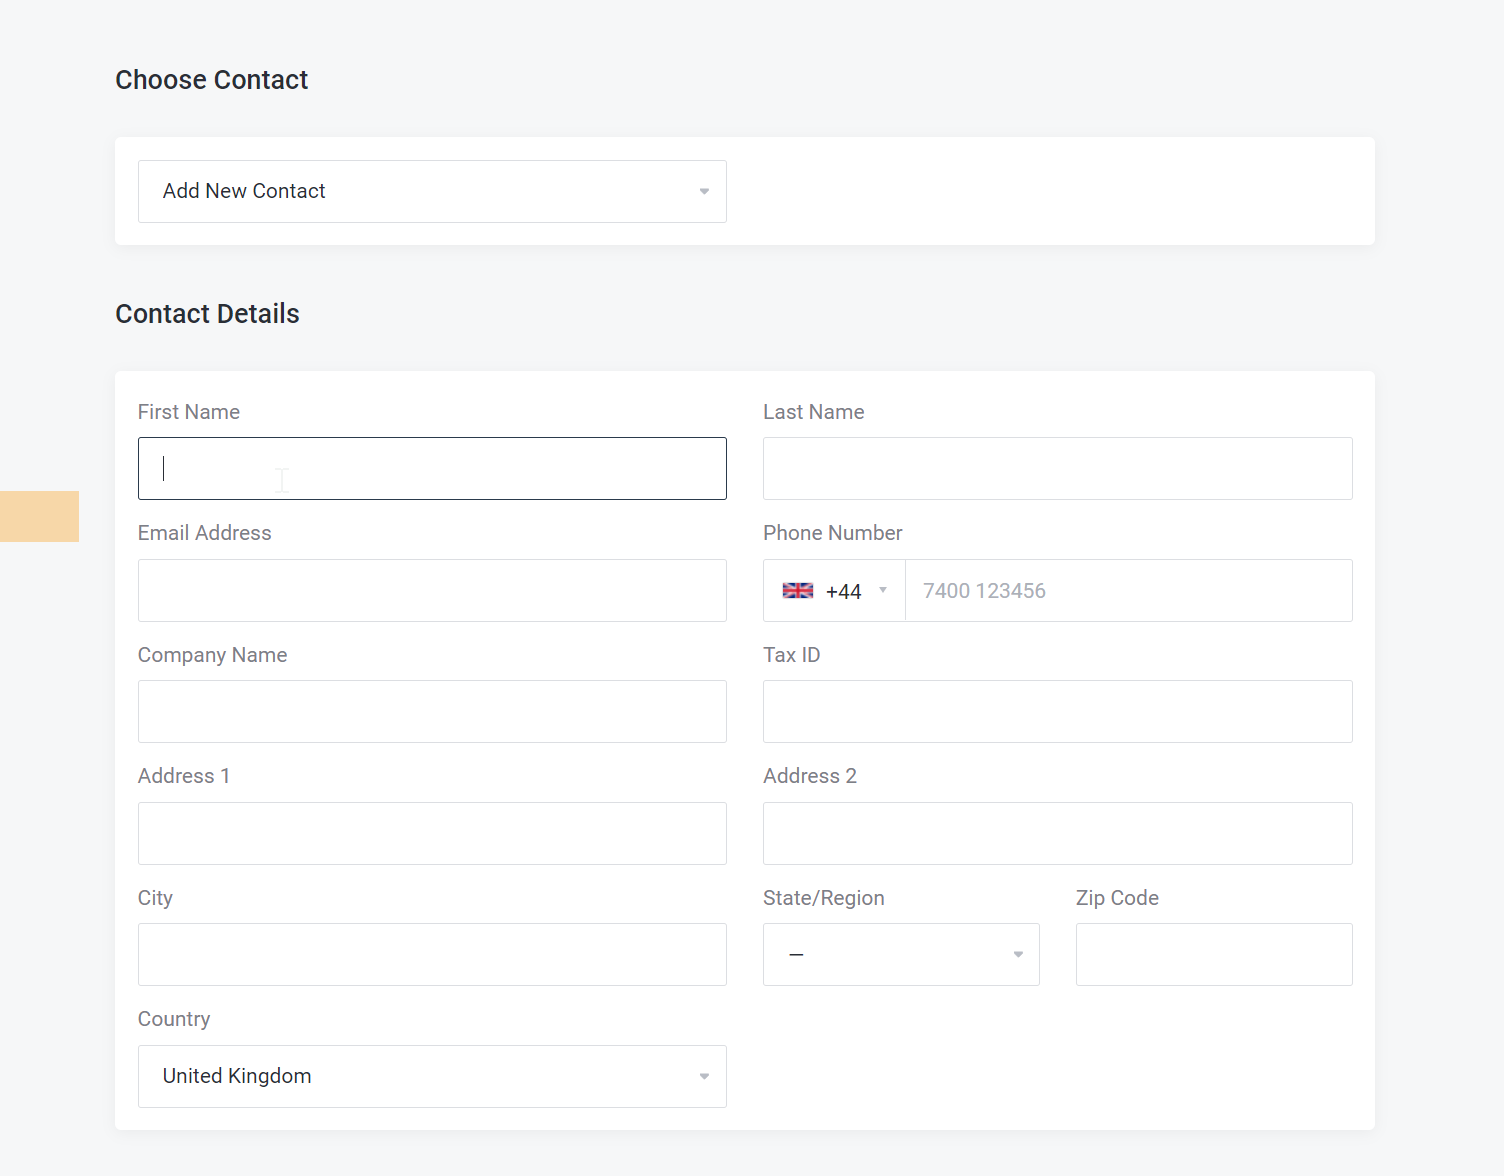
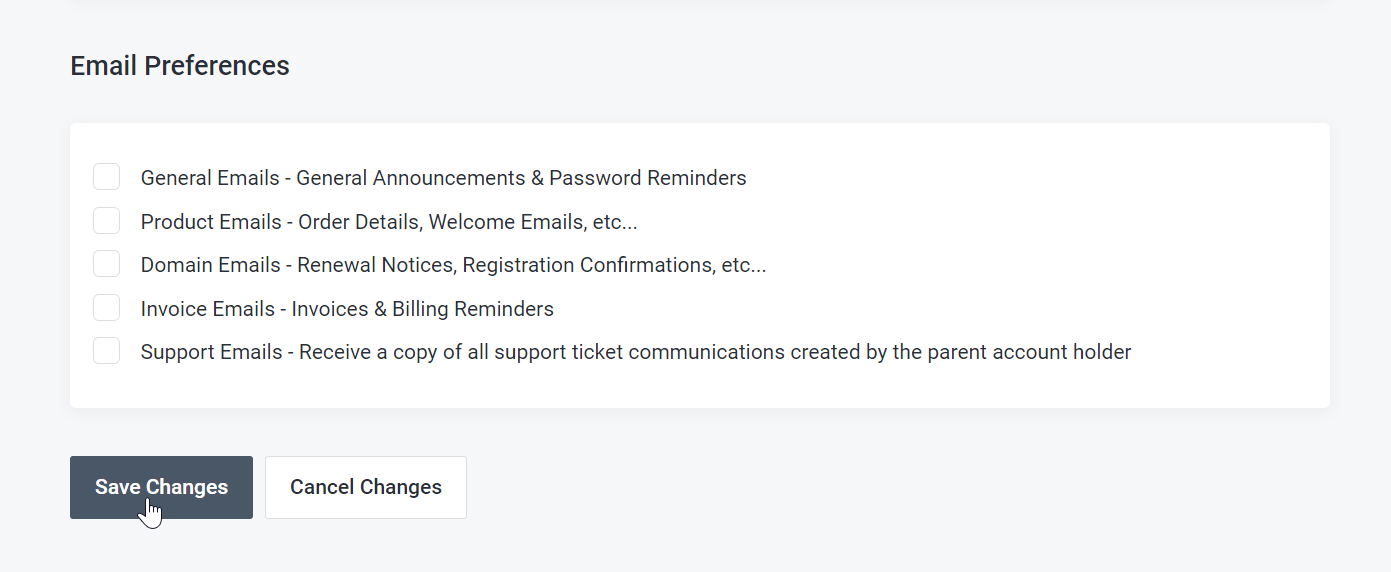
- Fill in the required fields, including the information you gathered in Step 1, and click “Submit.”
- Monitor the migration progress
Our migration team will review your request and begin the migration process. You will receive updates via email and can track the progress through the support ticket in your client area. The migration process typically takes 24 hours, depending on the complexity and size of your website.
- Verify the migration
Once the migration is complete, our team will notify you. At this point, you should verify that all your data including website files, databases, and emails have been correctly transferred. Please let us know immediately if anything is missing or doesn’t look right.
- Update your nameservers
If you are satisfied with the migration, it’s time to point your domain to our servers. How to update your nameservers.