Blog

  • PHP warnings are being displayed on my WordPress site

    Faulty plugins or themes can cause PHP warnings like this to appear on your WordPress site, and affect its appearance.

    Keep in mind!

    While this guide will show you how to hide the problem, to ensure your site is fully functional you should contact the plugin developer for assistance.

    Method 1: cPanel MultiPHP INI Editor

    1. Log into your cPanel dashboard

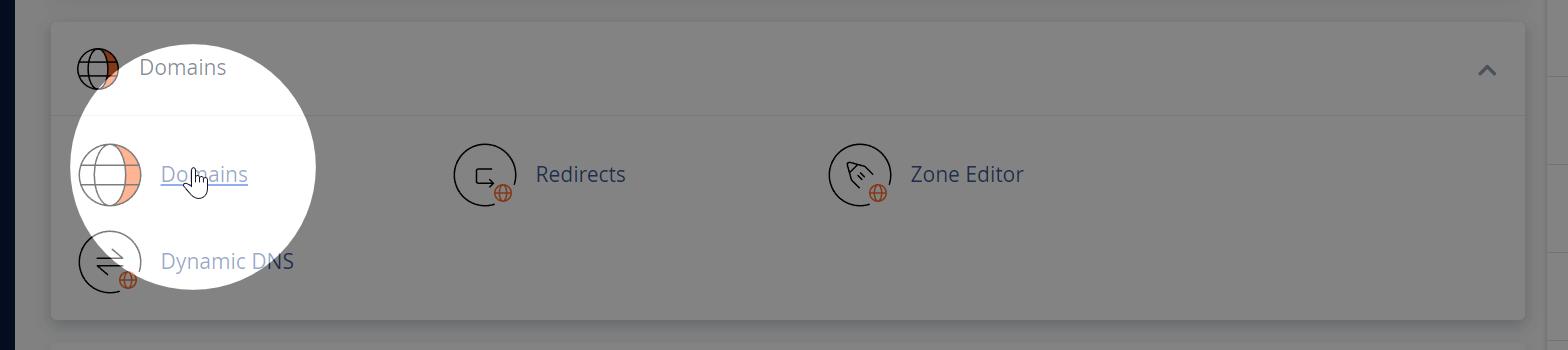
    2. Locate and click MultiPHP INI Editor

    3. Select your domain from the dropdown

    4. Find the display_errors setting

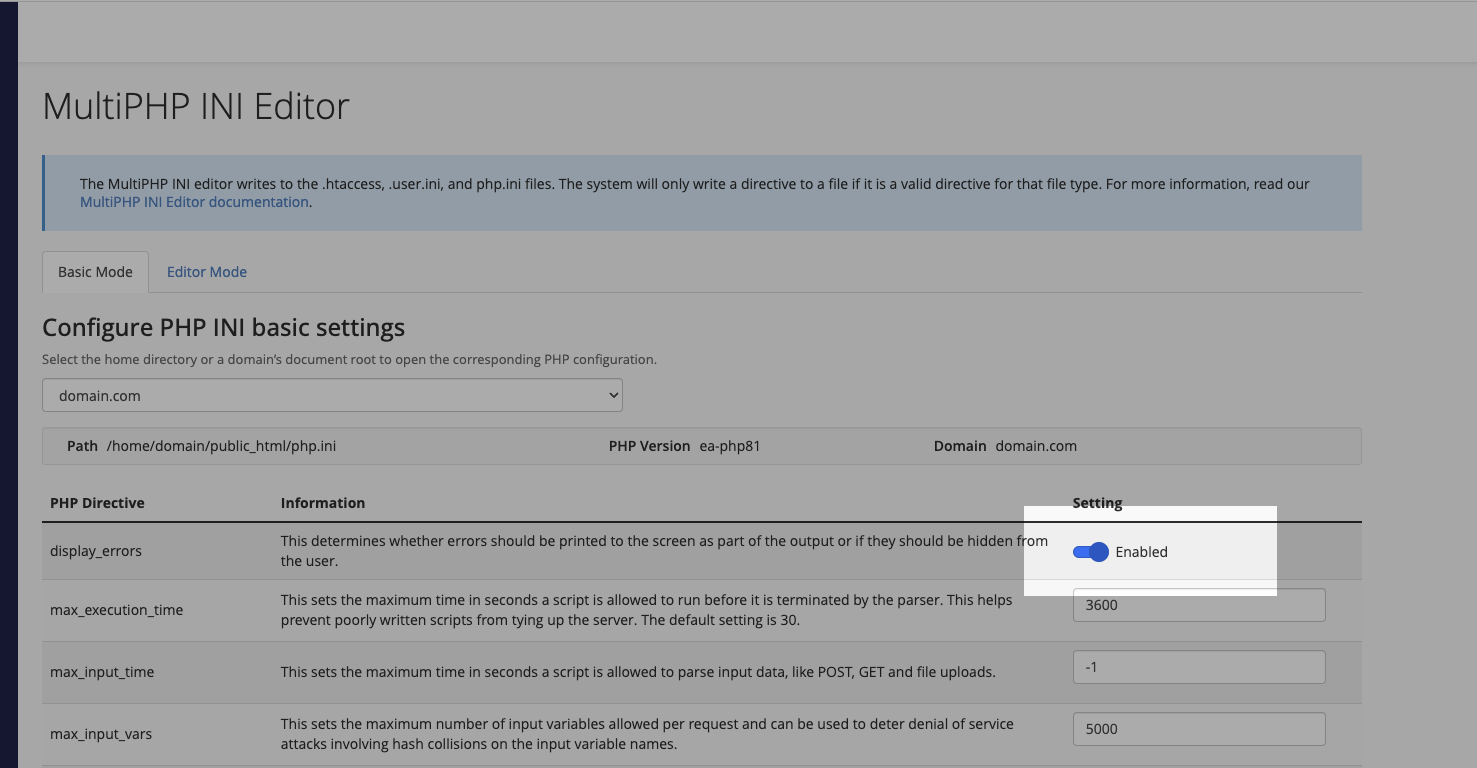
    5. Change the toggle from On to Off

    6. Click Apply

    Method 2: php.ini File

    If you have file access to your hosting account:

    1. Navigate to your website’s root directory

    2. Create or edit the php.ini file

    3. Add the following line:

      display_errors = Off
    4. Save the file

    Method 3: wp-config.php File

    As a final option, you can modify your WordPress configuration:

    1. Open your wp-config.php file

    2. Locate the line /* That's all, stop editing! */

    3. Add this line just above it:

      ini_set('display_errors', 0);
    4. Save the file

  • What are the email sending limits?

    Our email is built for regular business use. Things like replying to customers, sending invoices, or dealing with orders.

    It’s not suitable for newsletters, cold outreach, or sending lots of messages at once. If you’re sending bulk email, even accidentally, it can trigger our filters. When that happens, outgoing mail might be paused without warning.

    Is there a limit?

    There’s no hard cap, but try to keep it under 50 emails per hour per mailbox. If you’re using email normally, you won’t come close to that.

    What should I use for marketing emails?

    For anything bulk, use a proper tool. Here are some we recommend:

    • Brevo (good all-rounder for small businesses)
    • MailerLite (simple and affordable)
    • Mailchimp (popular and full-featured)
    • Postmark (best for transactional stuff)
    • Amazon SES (cheap but needs setup, suitable for advanced users)

    These services are built for it and will save you hassle.

    If you’re not sure what to go for, send us a message. We’re happy to help.

  • How to cancel your hosting plan

    We’re sorry to hear that you wish to leave us! But all good things must come to an end, so here’s how to say goodbye.

    If you’re having any issues with your plan, we can solve 99% of these (you would be surprised!) and would love the opportunity to help. Please get in touch and we’ll see what we can do.

    Cancel your plan

    1. Log in to the Zume client area.

    2. Select “My Services” from the Services dropdown.

    3. Find the service you wish to cancel, and click the three dots then “View Details”.

    4. Select “Request Cancellation” from the left-hand menu.

    5. We would appreciate it if you enter a reason for your cancellation. If you don’t want to provide one, just enter “N/A”.

    6. If you are within our 14-day money back guarantee, you must select “Immediate” as the cancellation type. Otherwise select “End of billing period” if you wish to continue using your service until the end of your pre-paid period.

    7. Finally, click the “Request Cancellation” button.

    Don’t forget!

    If you have a domain registration with Zume, you must also remember to disable “Auto-renew”. Otherwise the domain may renew automatically once due!

    Please get in touch if you would like any assistance confirming your cancellation.

  • How to view your default email account

    The default email account in cPanel is where any un-routed emails will be delivered to by default.

  • How to change my cPanel username?

    In some cases, we may be able to help you change your cPanel username.

    Please get in touch with us.

  • Do you have IPv6?

    IPv6 is not currently available for cPanel hosting accounts.

  • How should my MX records be configured?

    When using external email hosting, you should configure your MX records as follows:

    Record TypeNamePriorityDestination
    MXyourdomain.uk0mail.yourdomain.com
    Amail.yourdomain.ukYour Shared IP Address

    Learn how to find your shared IP address.

    Remember to add a TXT record for SPF, so your emails are authenticated:

    Record TypeNameContent
    TXTyourdomain.ukv=spf1 include:relay.zumedns.com ~all
  • How to set the Reverse DNS (RDNS) for my Dedicated IP?

    You must create an A record first to forward-confirm the RDNS record. 

    If you have purchased a dedicated IP, you can customise the reverse DNS record by opening a ticket. Please include the IP address and a Fully Qualified Domain Name (FQDN).

  • What is your IPS Tag?

    Before changing your .uk domain’s IPS tag, you must place a transfer order first and wait for an order confirmation email.

    To transfer your .uk domain, you should set its IPS tag to:

    ZUMEIO

    The transfer will then complete within a couple of hours.

  • How to enable SSL on my website

    Enabling SSL (Secure Sockets Layer) on your website ensures a secure connection between your site and its visitors. SSL helps protect sensitive data, boosts your search engine rankings, and improves user trust. Here’s a step-by-step guide to enable SSL on your website using cPanel’s AutoSSL feature and forcing SSL redirection.

    Step 1: Log in to cPanel

    Log in to your cPanel account using your provided username and password.

    Learn how to log into cPanel.

    Step 2: Access the SSL/TLS Status

    In cPanel, locate the “Security” section and click on the “SSL/TLS Status” icon. This will open the SSL/TLS Status page.

    Step 3: Run AutoSSL

    AutoSSL automatically installs and renews free SSL certificates from Let’s Encrypt. On the SSL/TLS Status page, select the domains for which you’d like to enable SSL, and then click on the “Run AutoSSL” button. The process may take a few minutes to complete.

    Step 4: Verify the SSL certificate installation

    Once AutoSSL completes the process, you should see a green lock icon next to your domain name(s), indicating that the SSL certificate has been successfully installed.

    Step 5 (optional): Enable Force SSL Redirect

    To force all traffic to use HTTPS, go back to the main cPanel dashboard, and locate the “Domains” section. Click on the “Domains” icon to open the Domains page.

    Find the domain for which you want to force SSL redirection and toggle the “Force HTTPS Redirect” switch to the “On” position. This ensures that all visitors to your website are automatically redirected to the secure HTTPS version of your site.

    Step 6: Restart your browser

    Restart your browser to flush the SSL session cache.