Yes, the ImageMagick PHP extension is available for PHP versions 7.2 to 8.2
Blog
-
How to connect via SFTP
Secure File Transfer Protocol (SFTP) is a secure method for transferring files between your computer and your server. This guide will show you how to connect to your website using an SFTP client.
Step 1: Gather Your SFTP Details
To connect to your website using SFTP, you’ll need the following information:
- SFTP Server/Host: This is typically your website’s domain name or server hostname. Learn where to find the server hostname.
- SFTP Port: The default SFTP port is 22.
- Username and Password (if not using SSH key): This is usually your cPanel username and password.
Note: You can usually find these details in your hosting account’s welcome email.
You can add your SSH key to your account to avoid having to enter a password. Learn how to add your SSH key to your account.
Step 2: Download and Install an SFTP Client
You’ll need an SFTP client to connect to your server. Some popular SFTP clients include FileZilla, WinSCP (for Windows), and Cyberduck (for Mac). Download and install the SFTP client of your choice.
Step 3: Set Up a New SFTP Connection Open your SFTP client and create a new connection. The process may vary slightly depending on the client you’re using, but generally, you’ll need to:
- Click on “File” > “New Site” or “New Connection”.
- Enter your SFTP Server/Host, Port, Username, and Password.
- Set the connection type or protocol to SFTP.
- Click “Connect” or “OK”.
Step 5: Navigate to Your Website’s Directory
Once connected, you’ll see your server’s file structure on one side of the SFTP client window and your local computer’s file structure on the other side. Navigate to your website’s root directory (often called “public_html” or “www”) on the server side.
Step 6: Transfer Files
To transfer files between your computer and your server, simply drag and drop the files or folders you want to transfer. You can upload files from your local computer to your server or download files from your server to your local computer.
Step 7: Disconnect Safely
When you’re finished transferring files, always disconnect safely from the SFTP session. In most SFTP clients, you can do this by clicking on “Server” > “Disconnect” or by closing the SFTP client window.
-
WordPress admin area loading without styles
Some clients have reported their WordPress admin area loading without styles when using certain browsers.
Resolutions
a) Use a different browser
Try accessing your admin area using a different browser
b) Disable “concatenate scripts”
Add the following code snippet to the end of your
wp-config.phpfile, above the finalrequire_once()line:define('CONCATENATE_SCRIPTS', false); -
How to install WordPress
Softaculous is an auto-installer available in cPanel that allows you to install web applications like WordPress easily. In this guide, we’ll walk you through the process of installing WordPress on your website using Softaculous.
Step 1: Log in to cPanel
Log in to your cPanel account using your provided username and password.
Learn how to log in to cPanel.
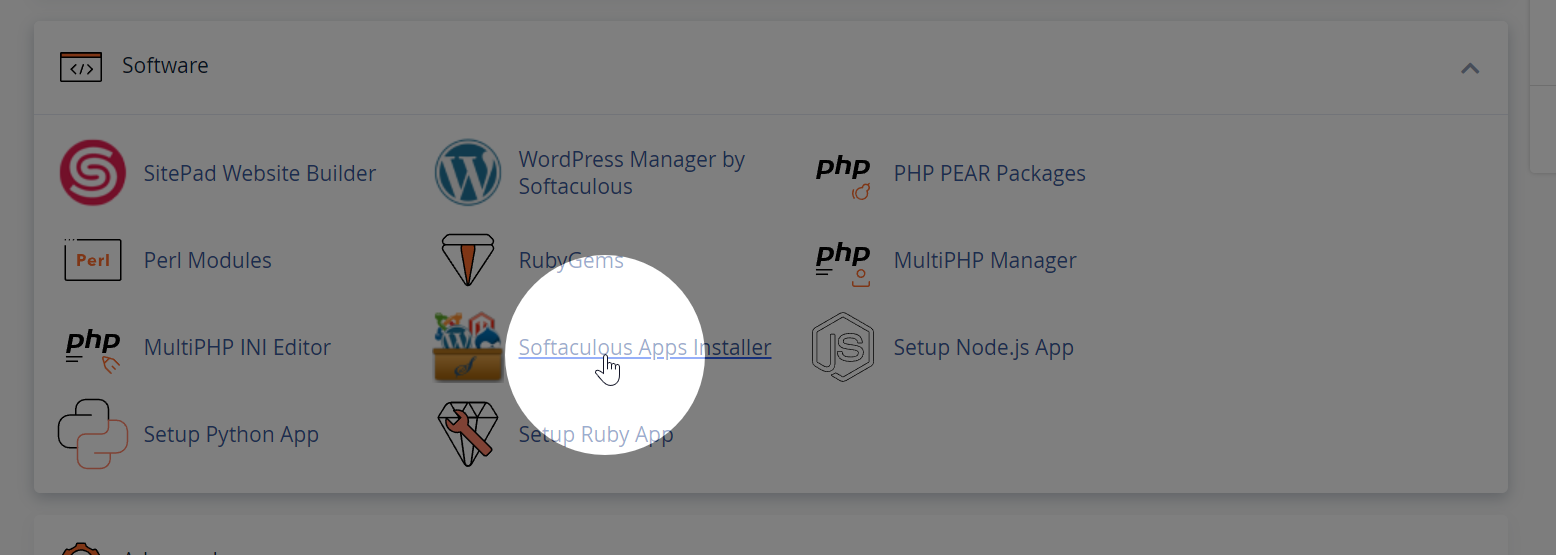
Step 2: Access Softaculous
In cPanel, locate the “Software” or “Softaculous Apps Installer” section and click on the Softaculous icon, which usually has the WordPress logo. This will open the Softaculous dashboard.
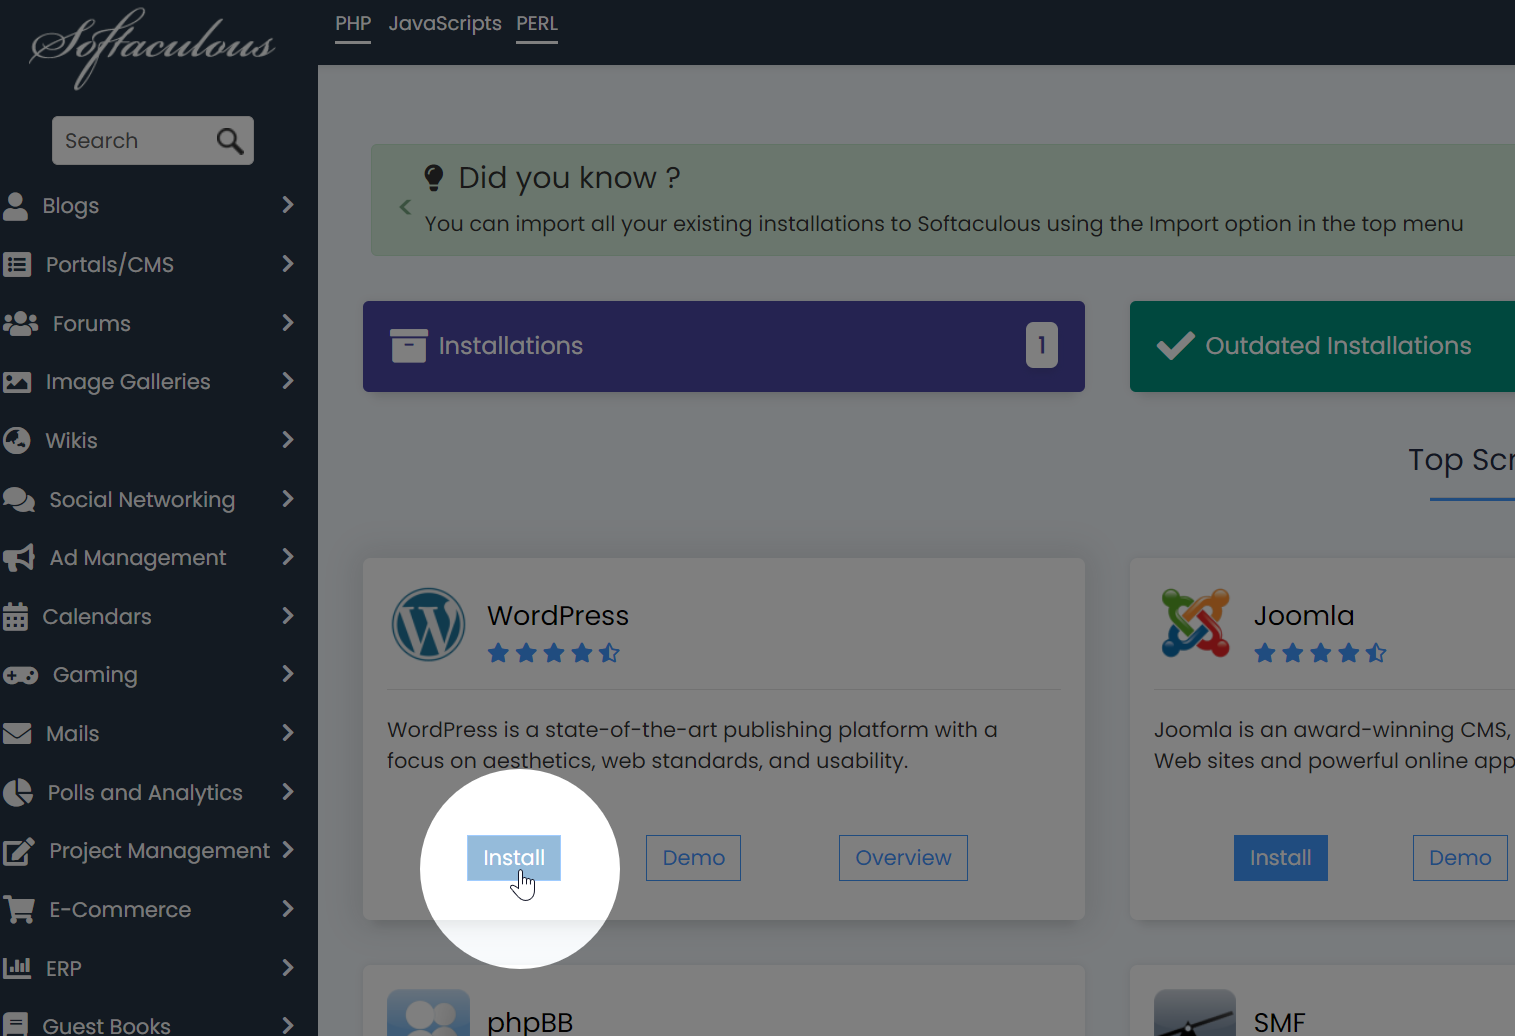
Step 3: Choose WordPress
In Softaculous, you’ll see a list of available applications. Find and click on “WordPress” to open the WordPress installation page.
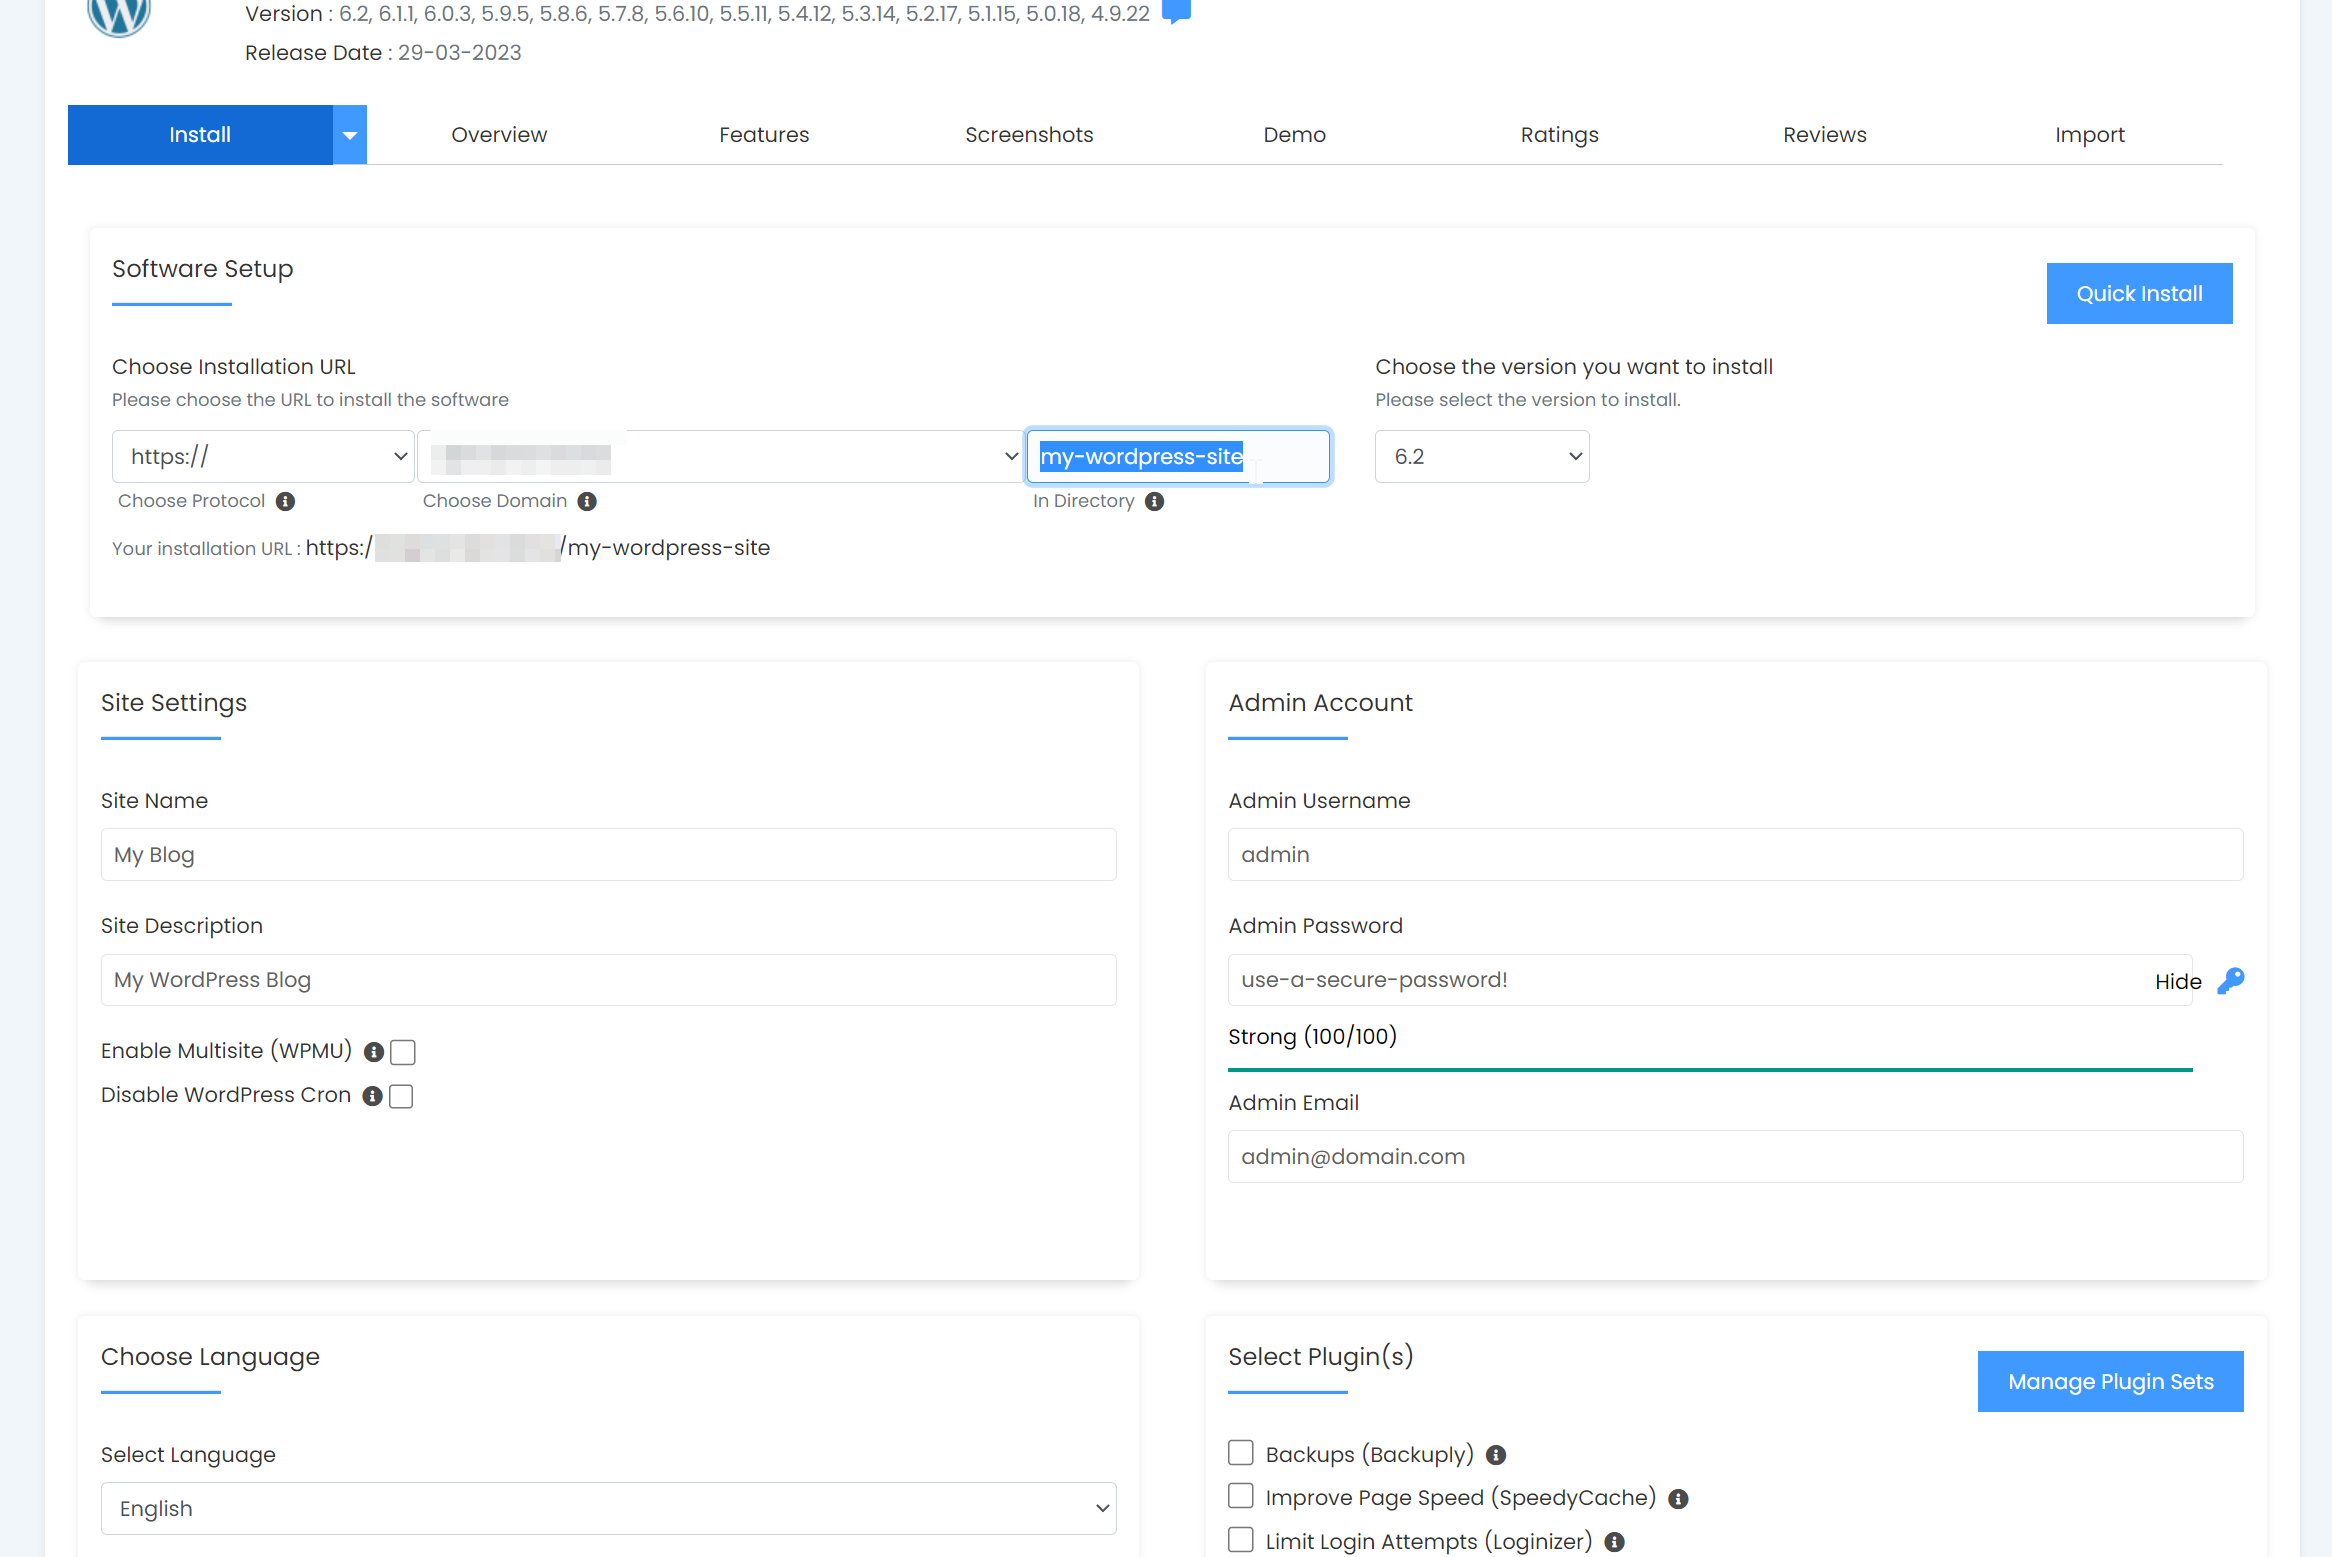
Step 4: Fill in the Installation Details
Fill in the required information for your WordPress installation:
- Software Setup: Choose the protocol (http or https), domain, and directory where you want to install WordPress.
- Site Settings: Enter your website’s name and description. You can change these later from the WordPress dashboard.
- Admin Account: Create a username, password, and email address for your WordPress admin account. Make sure to use a strong password and a valid email address.
- Choose Language: Select your preferred language for WordPress.
- Select Plugins: Optionally, you can choose to install additional plugins, such as the Limit Login Attempts (Loginizer) plugin for added security.
- Advanced Options: Configure your database settings, such as database name, table prefix, and backup settings. If you’re unsure about these settings, you can leave them as default.
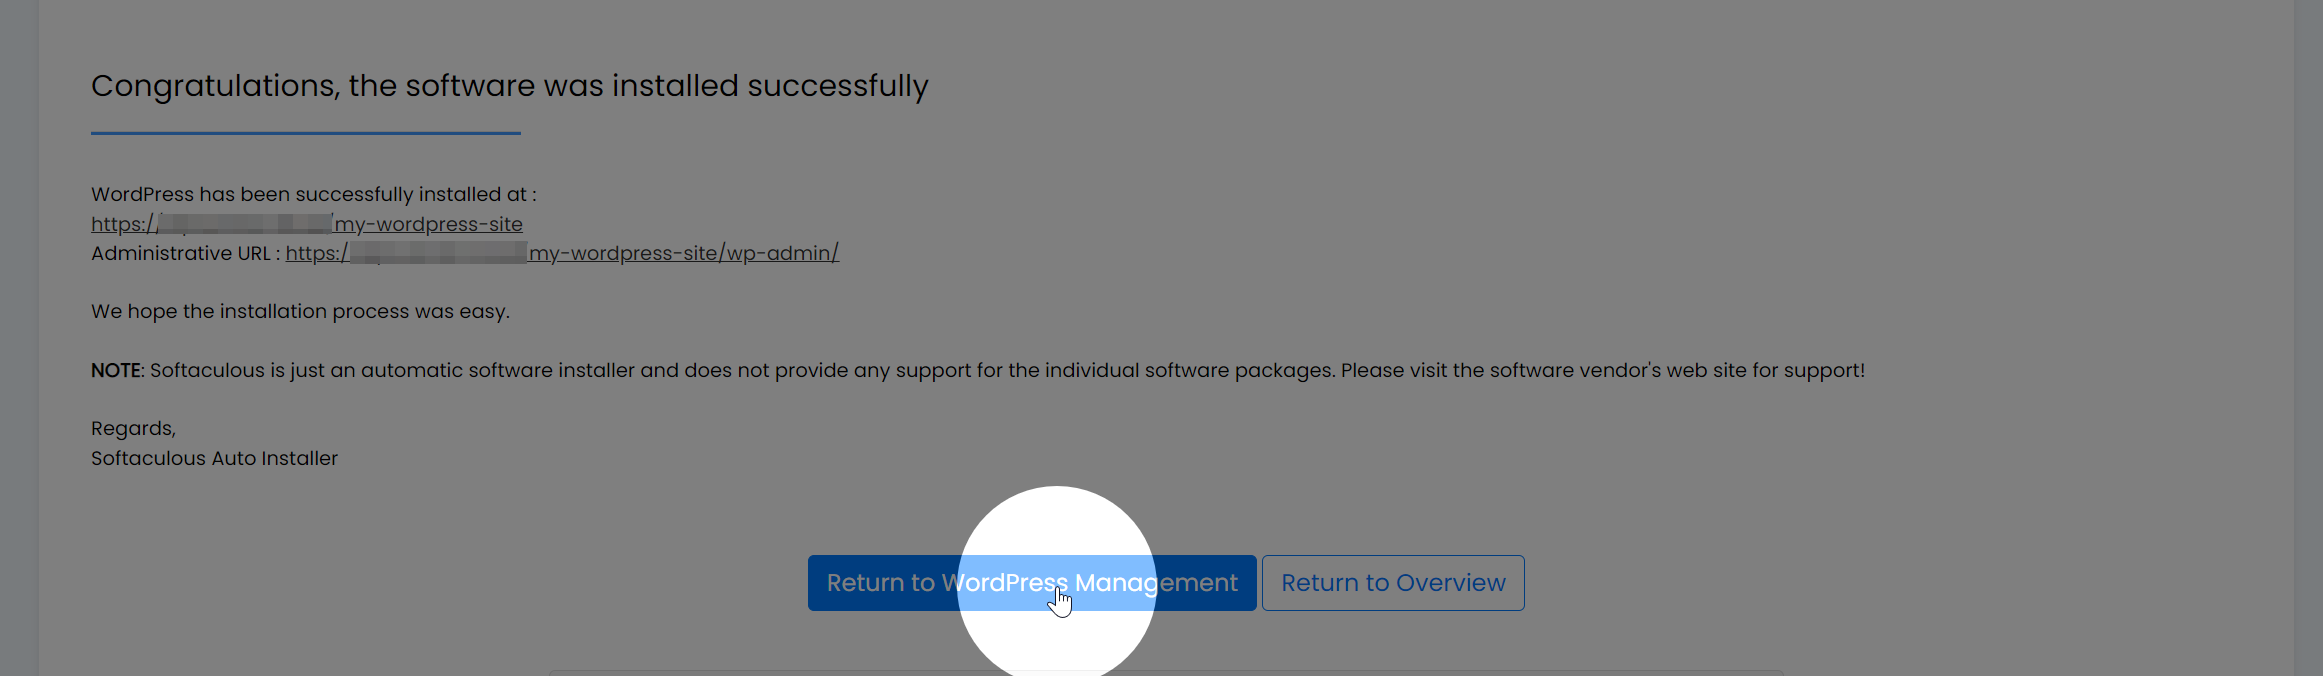
Step 5: Complete the Installation
Once you have filled in all the required information, click the “Install” button at the bottom of the page. Softaculous will install WordPress on your chosen domain and directory. The installation process may take a few minutes.

Step 6: Access Your New WordPress Site
After the installation is complete, Softaculous will display a confirmation message with the URLs to access your new WordPress site and admin dashboard. You can now log in to your WordPress dashboard using the admin credentials you set during the installation process.
-
How to take a snapshot of your account
Taking a snapshot of your account is useful before making a major change to your site, such as a software update. A snapshot allows you to easily roll-back your entire cPanel.
Creating a snapshot
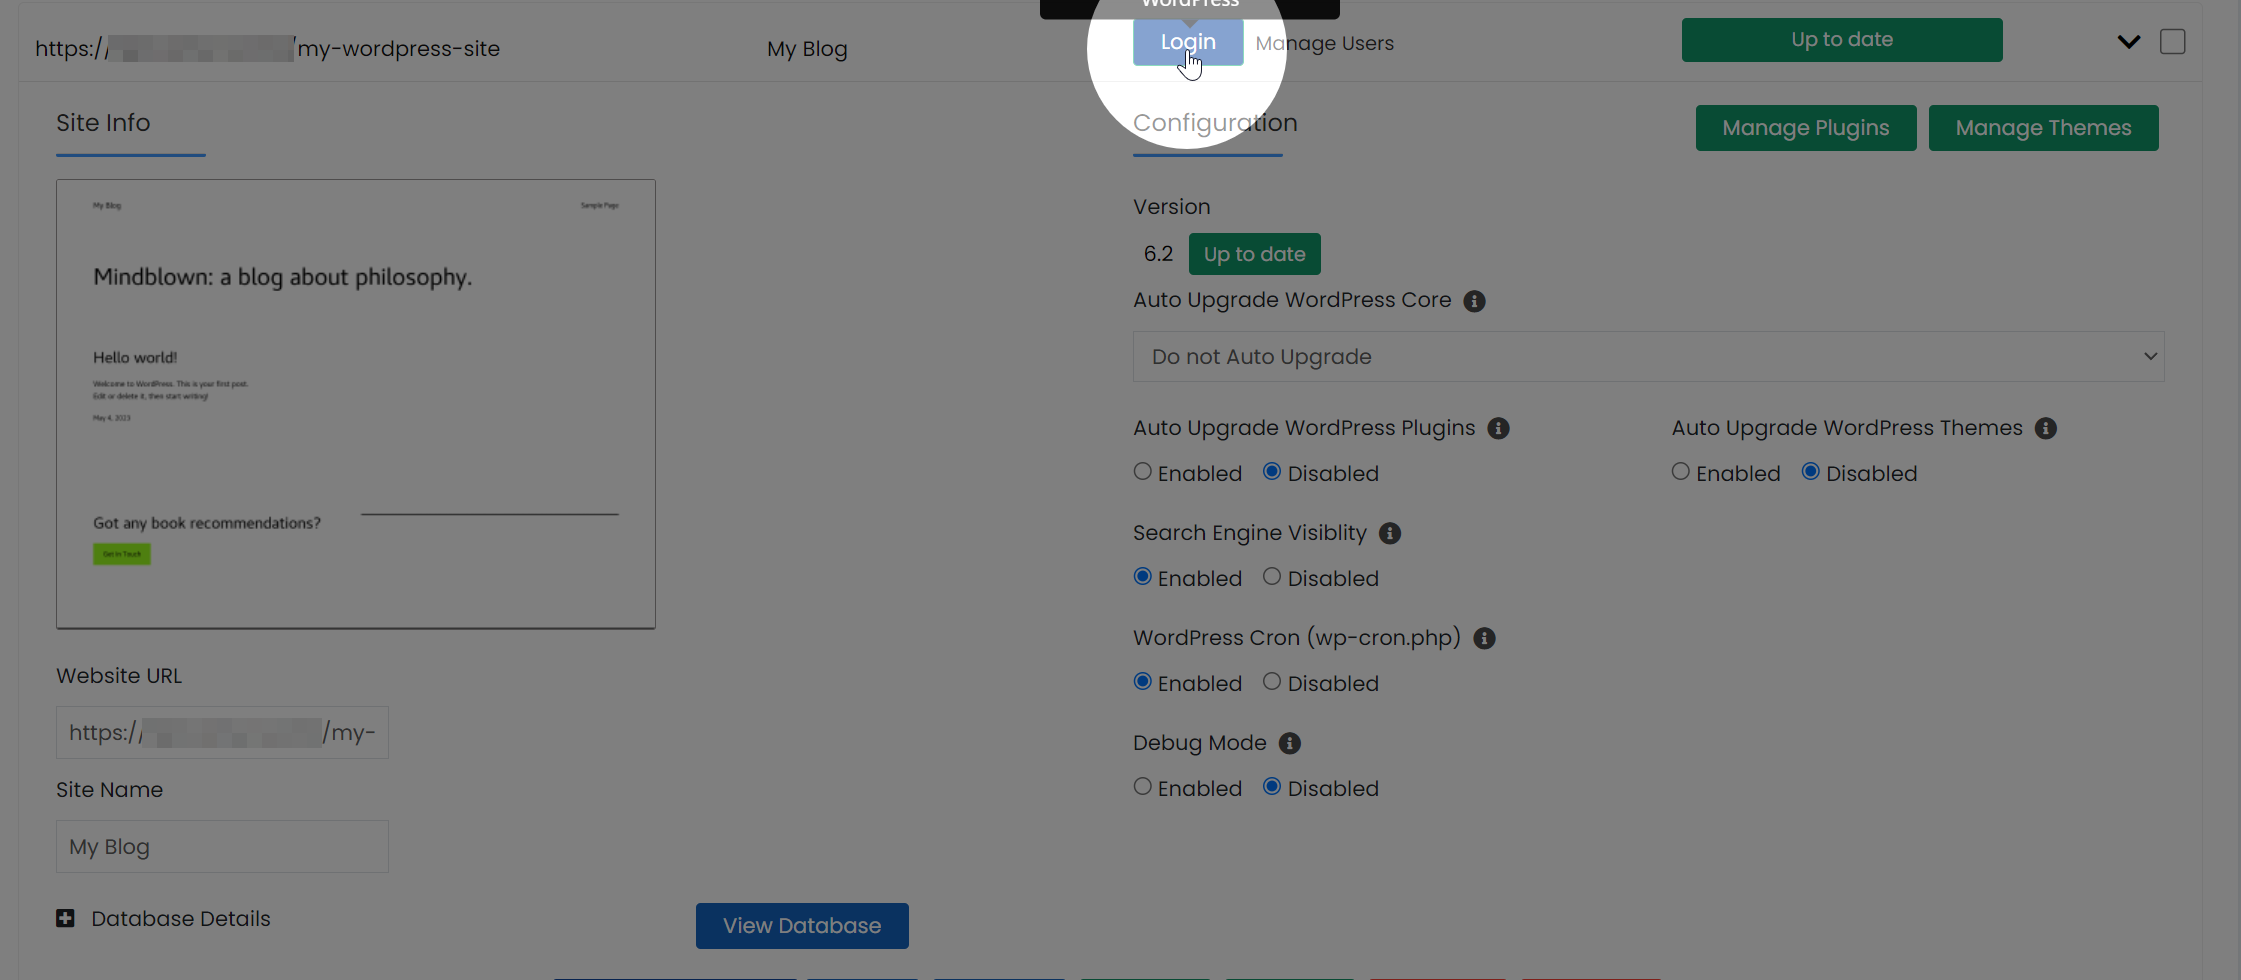
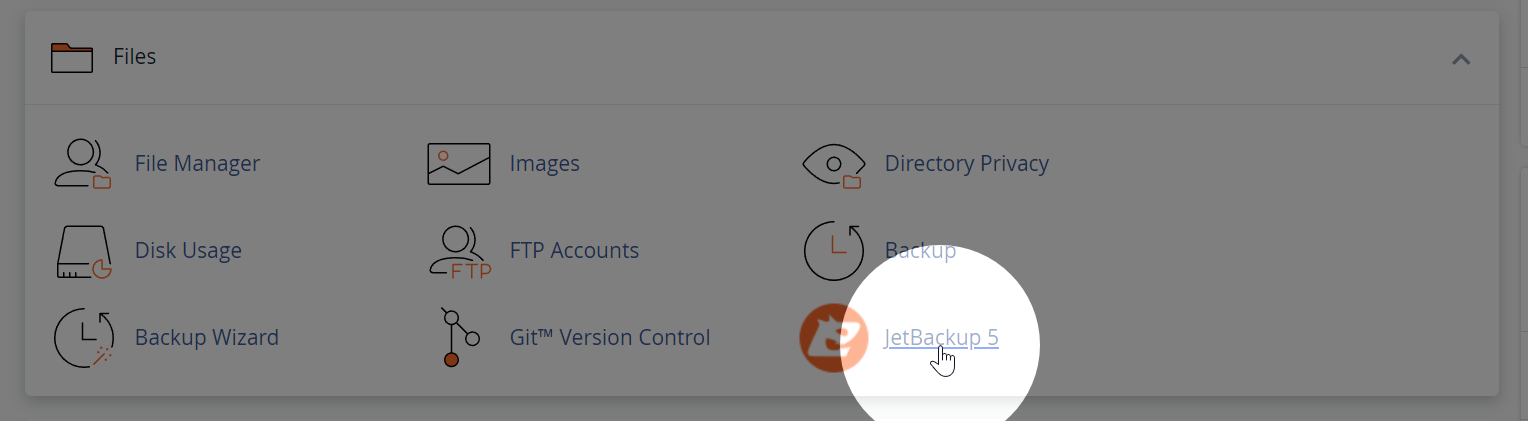
To take a snapshot, first log into cPanel and click JetBackup 5.
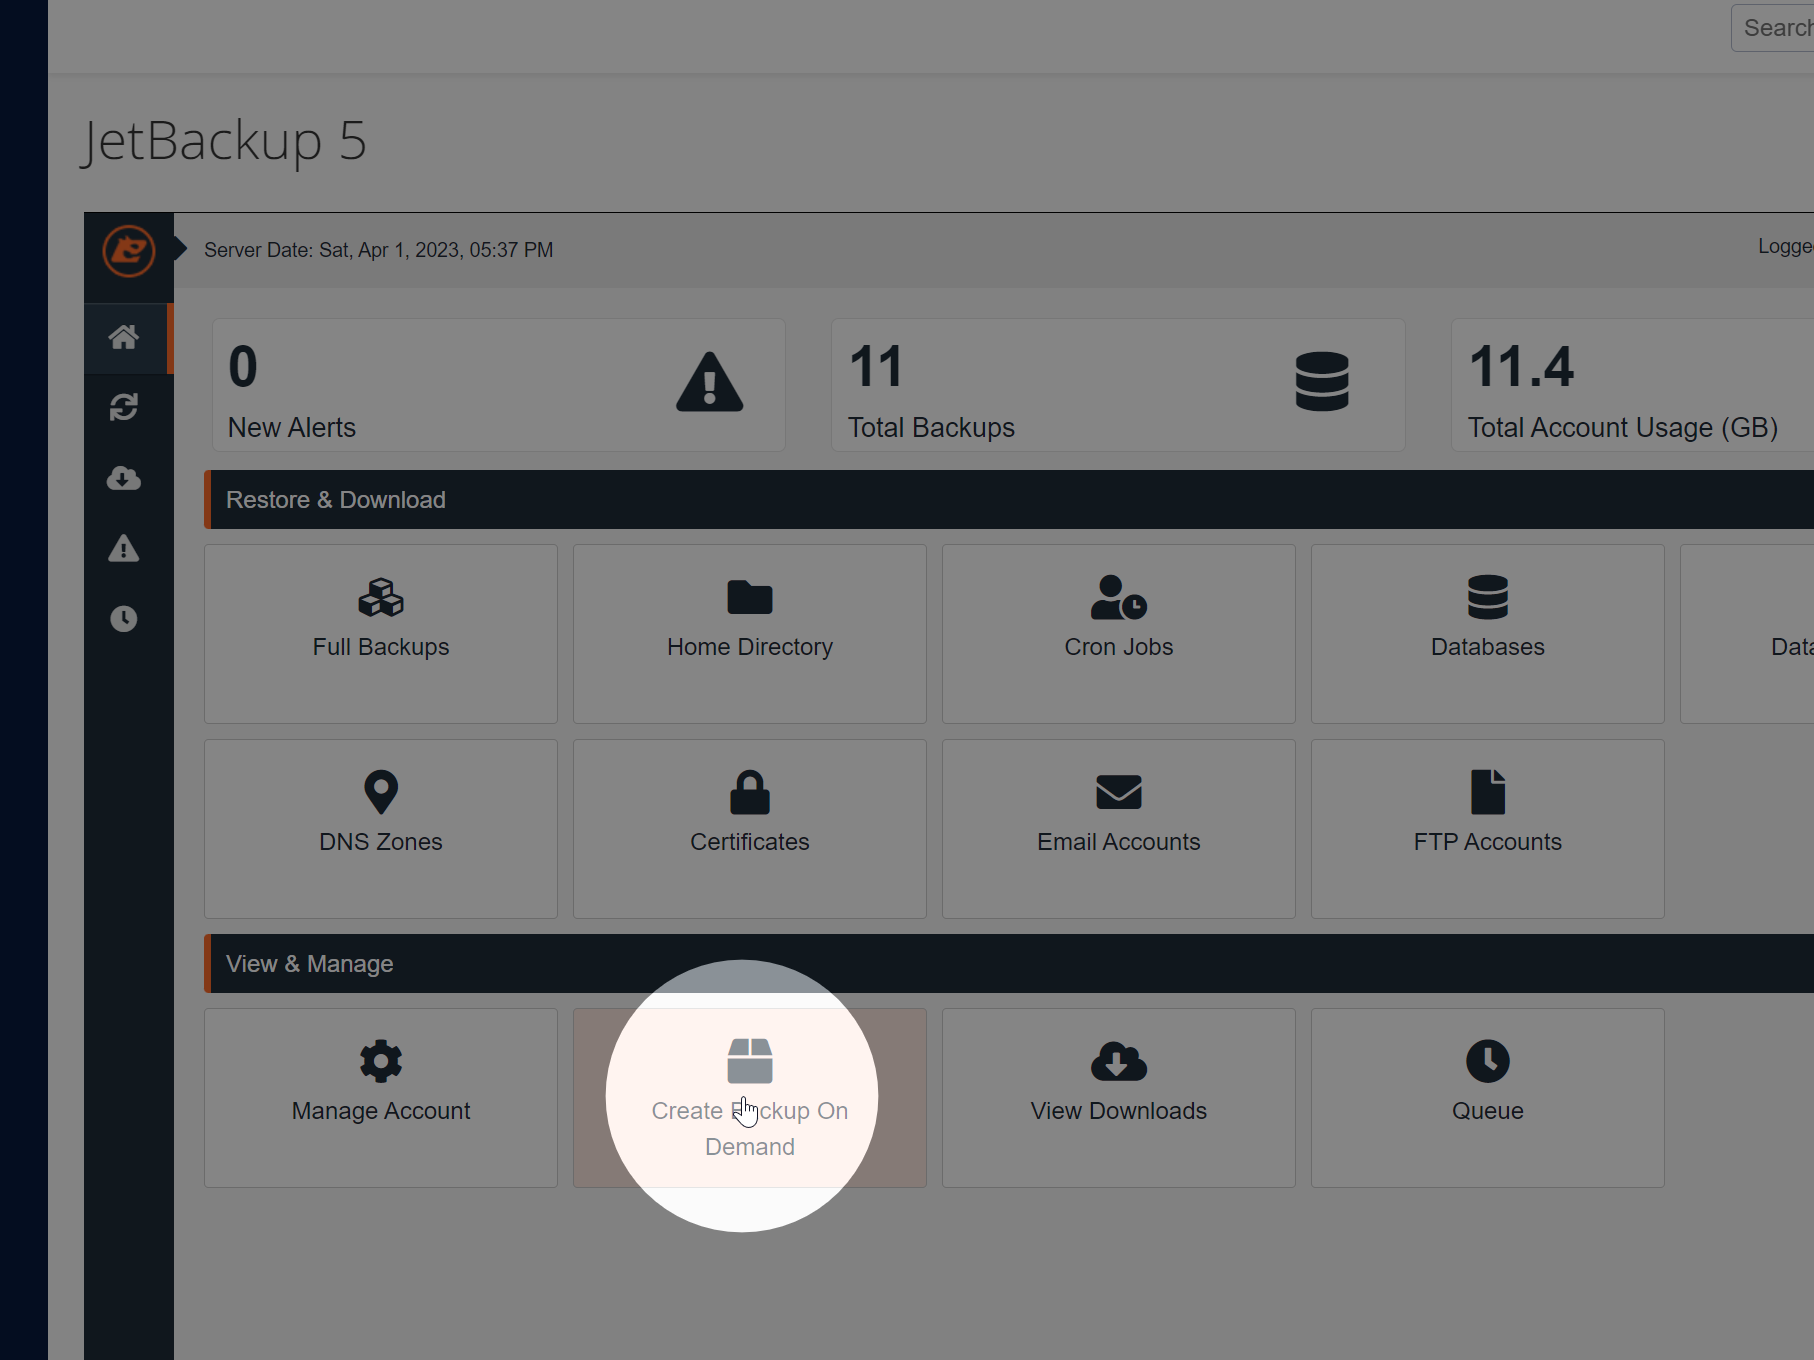
In the JetBackup interface, click Create Backup on Demand.
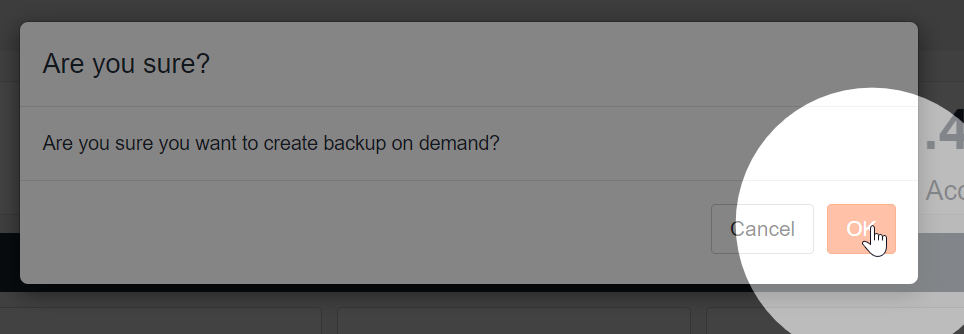
Click OK on the confirmation modal.
Restoring a snapshot
In cPanel click on JetBackup 5.
Click the Full Backups link.
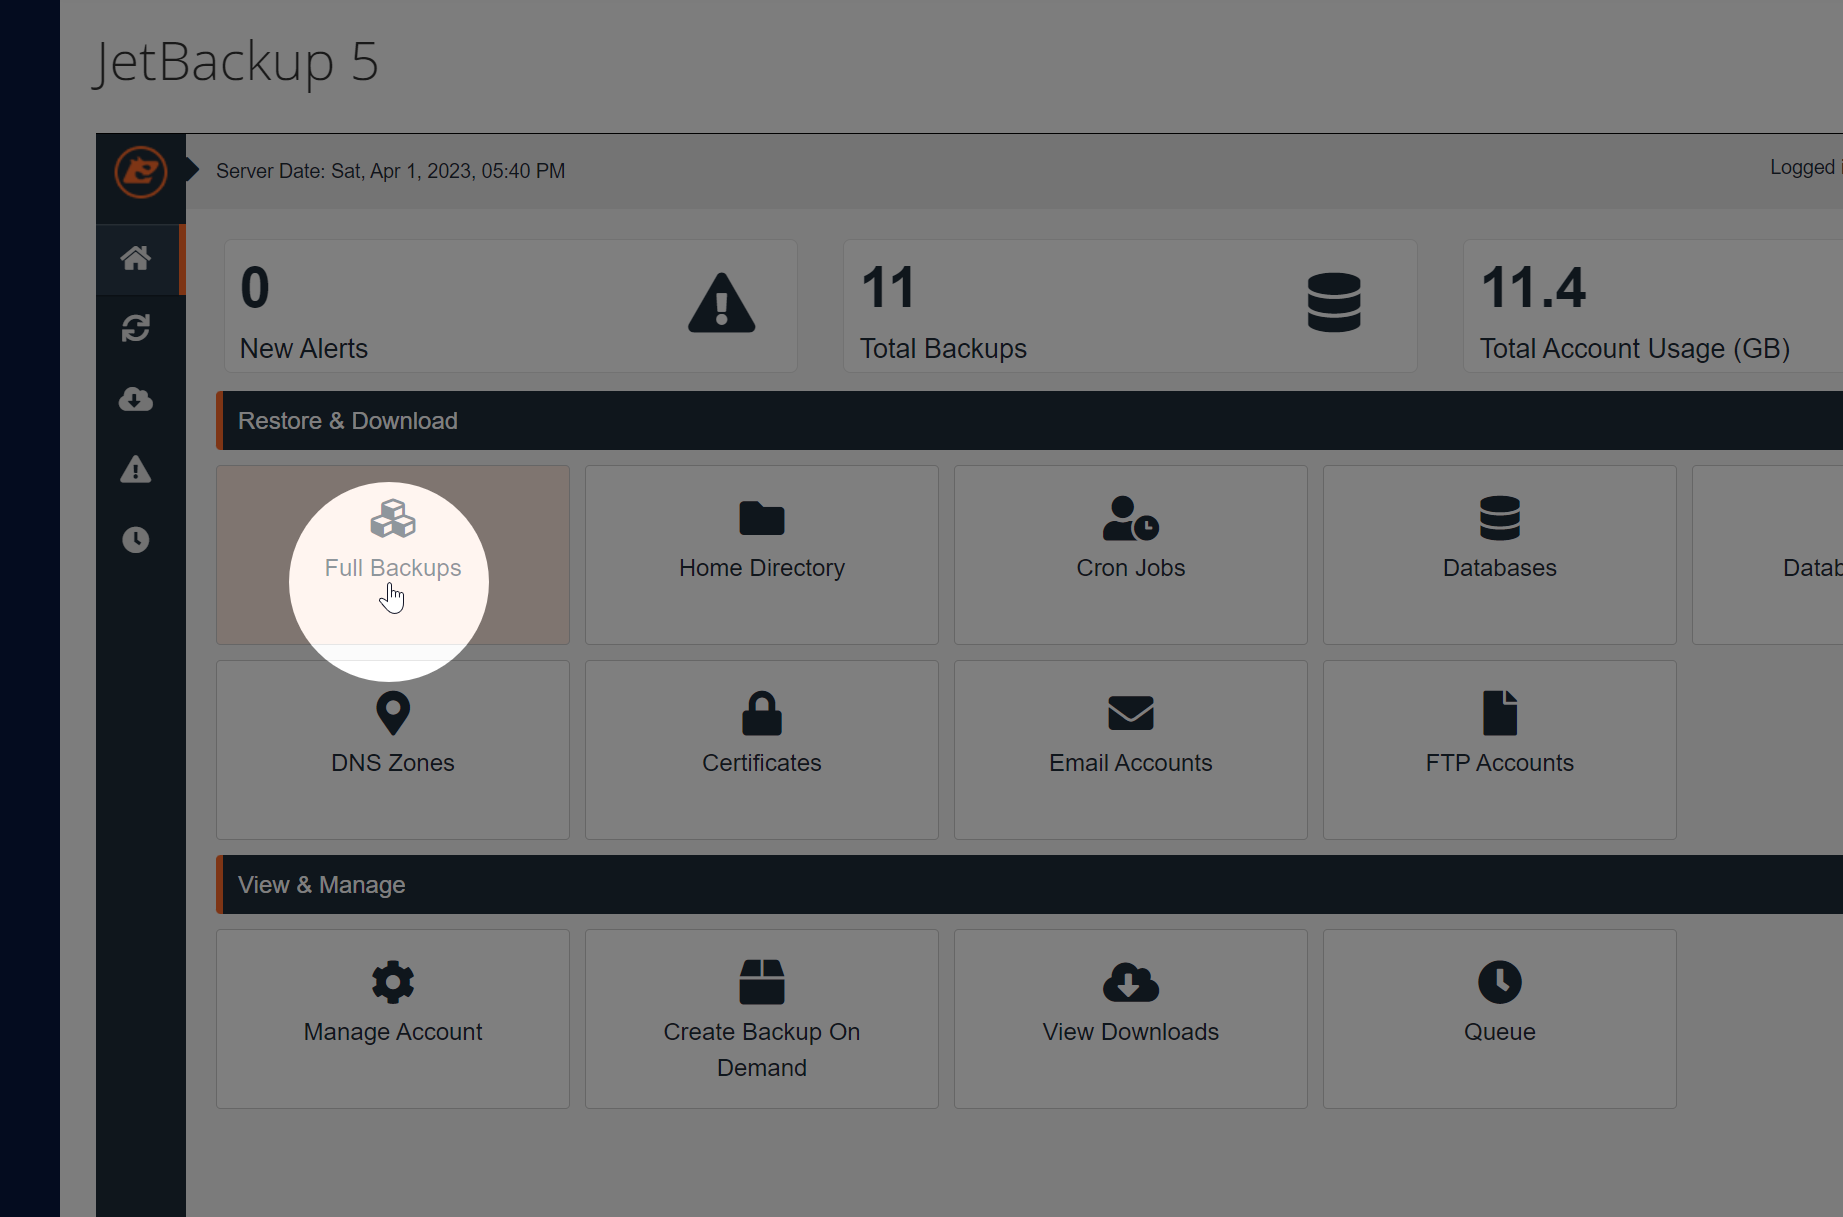
Select the backup that you wish to restore.
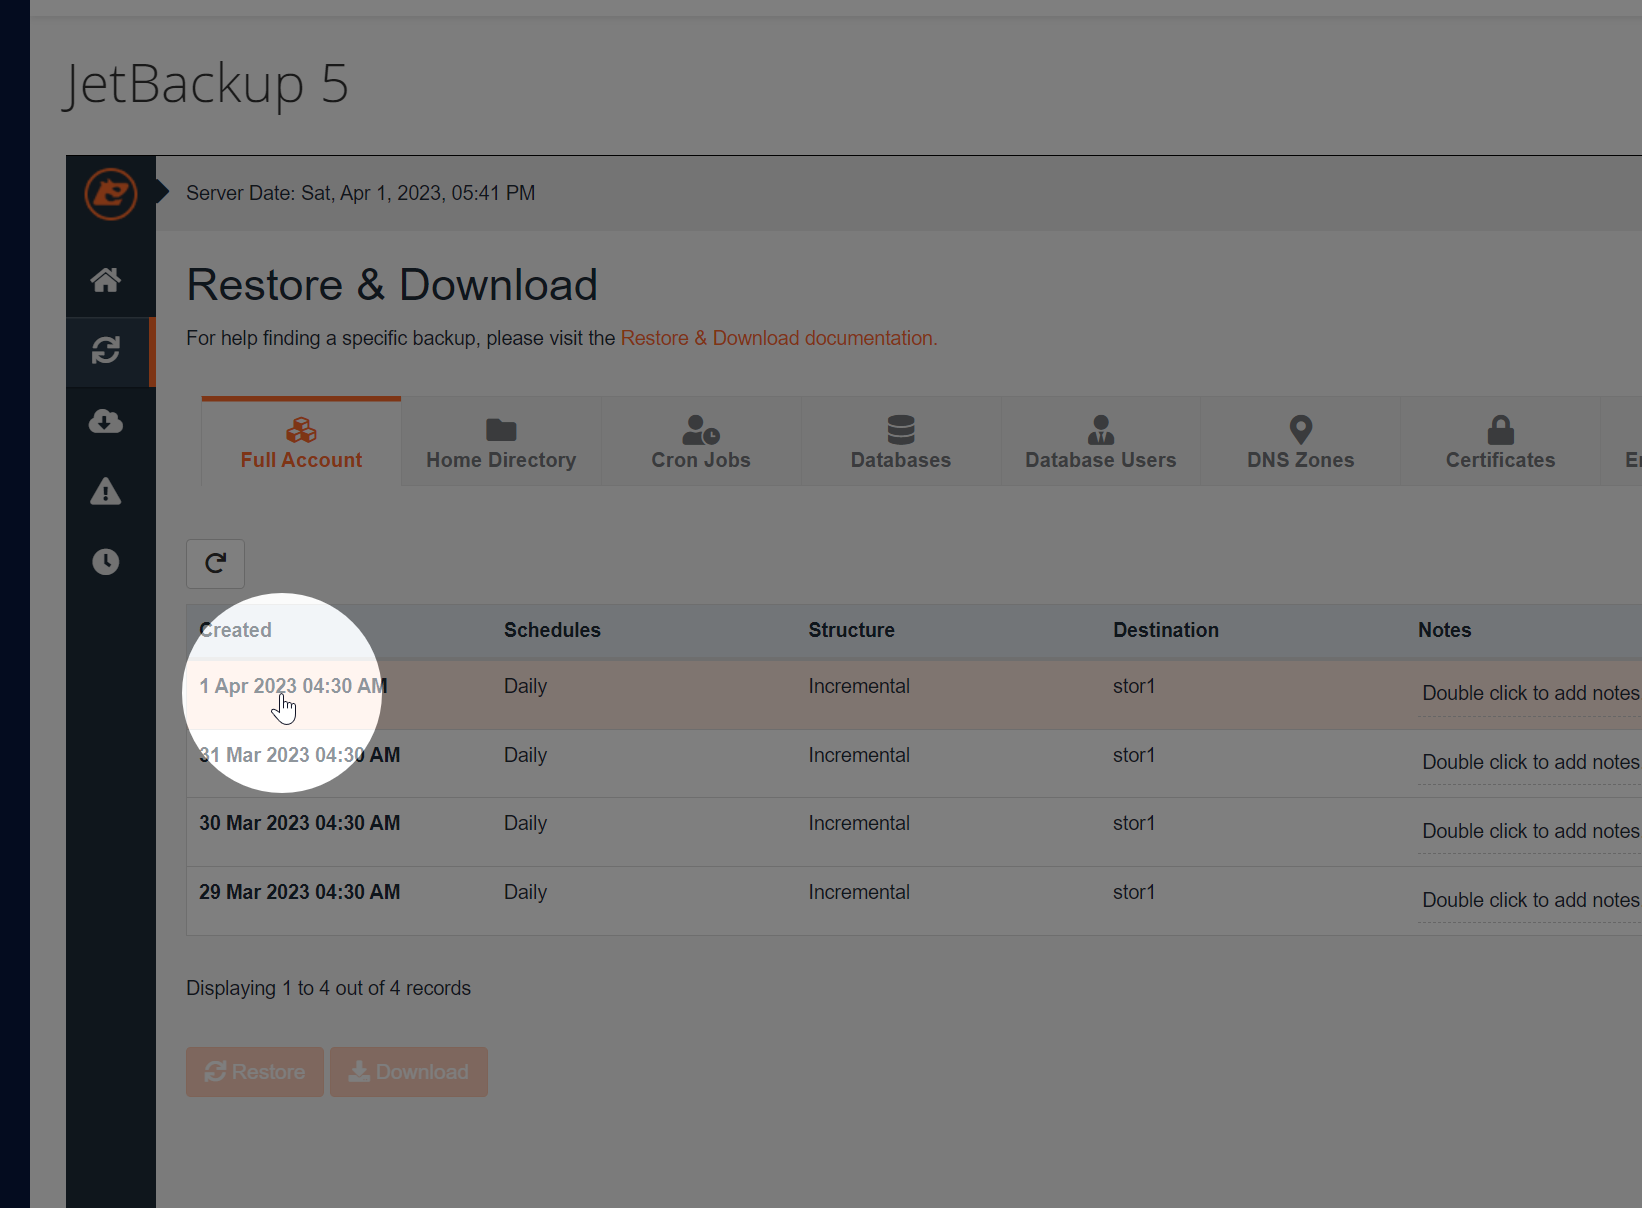
Click the Restore button.

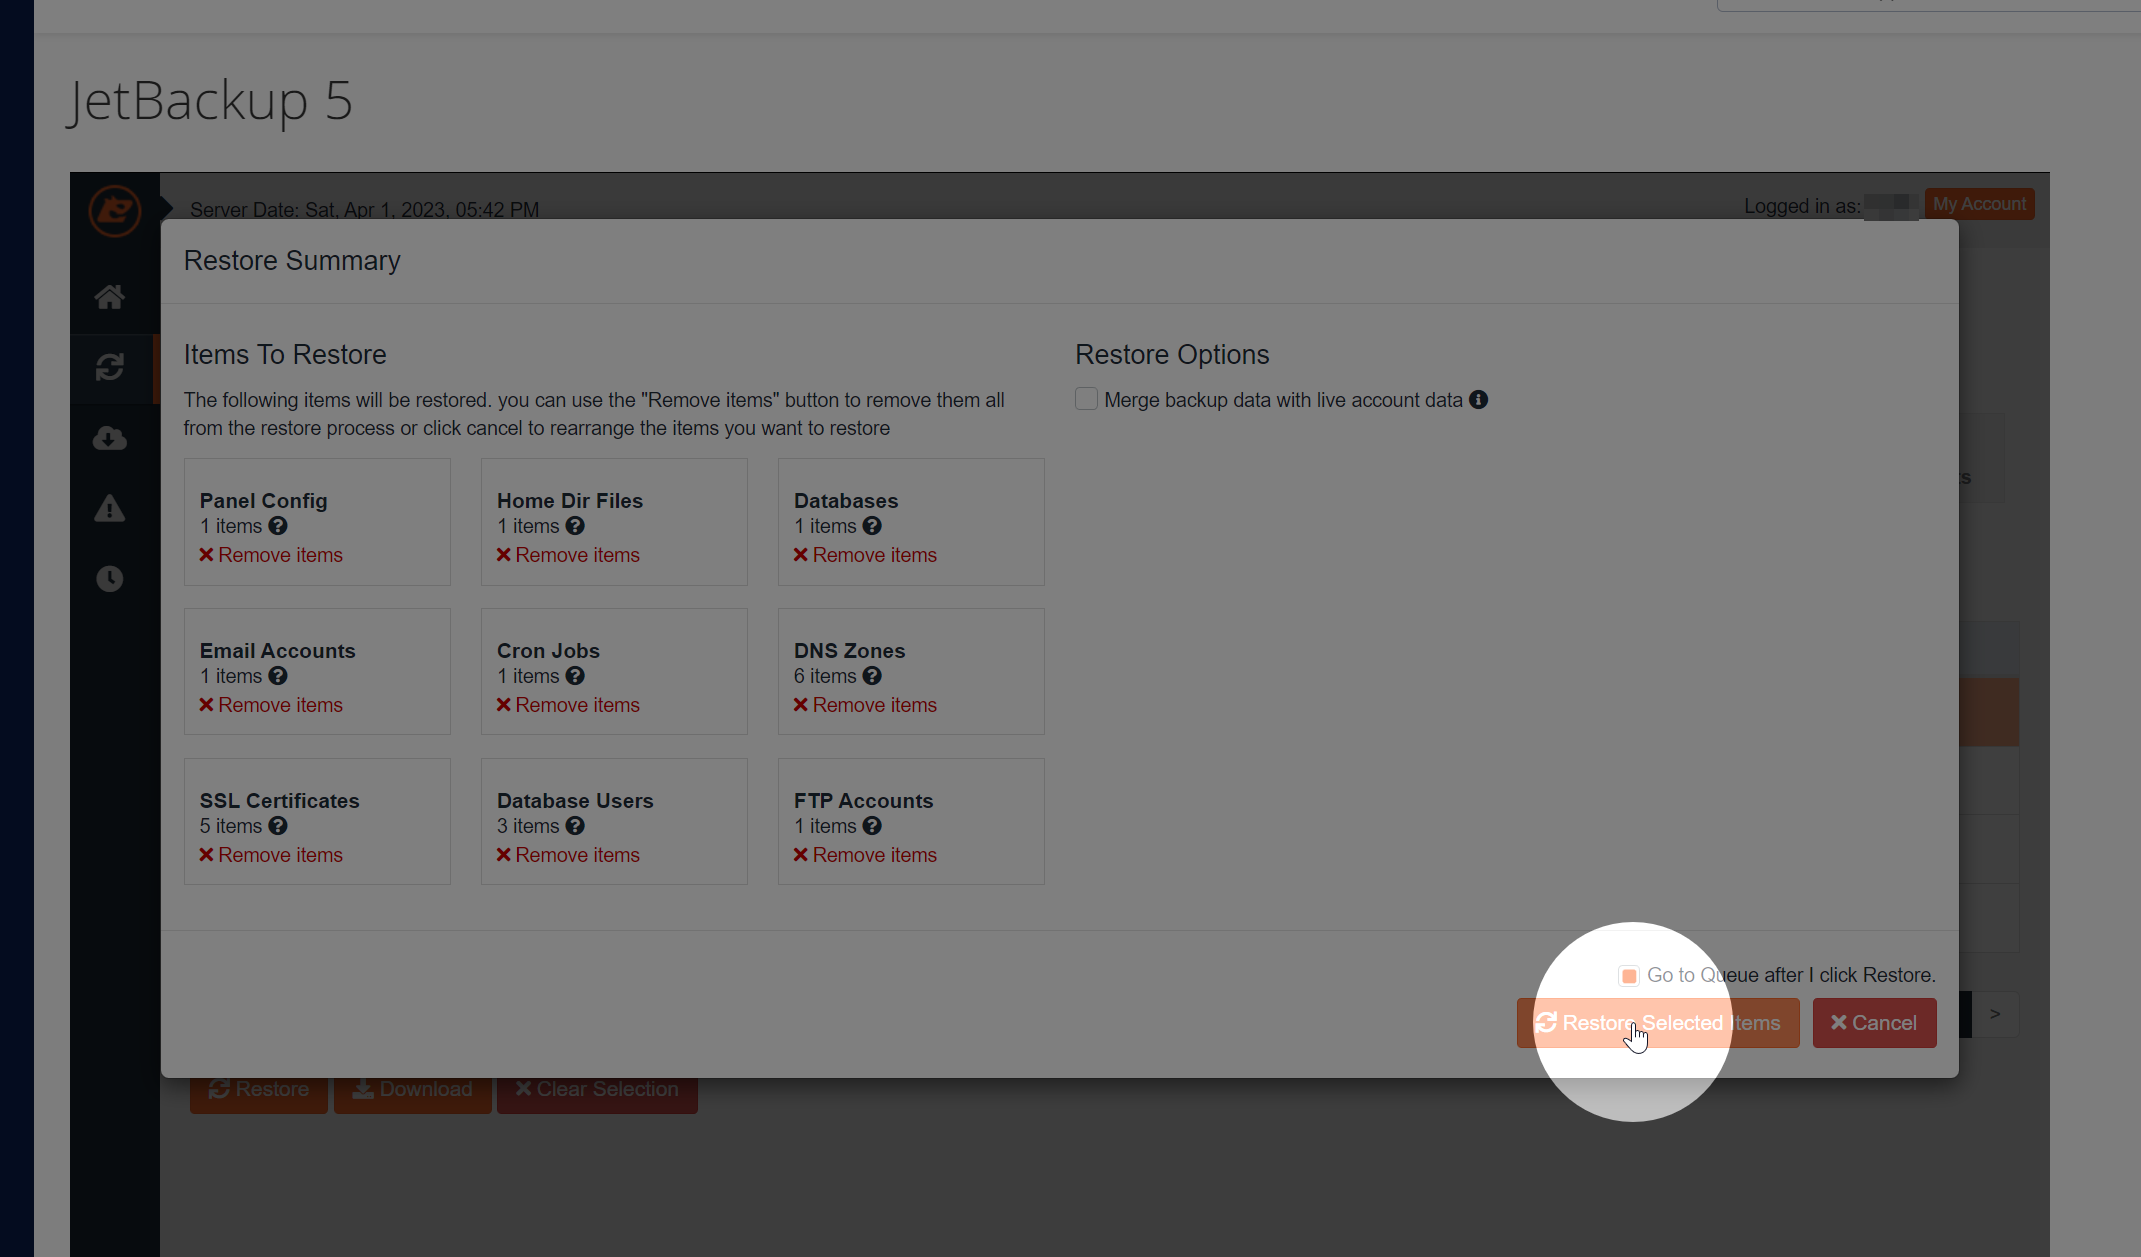
Here you can select the components of the snapshot that you wish to restore. By default, all will be selected.
Once you have made your selections, click Restore Selected Items.
Please note that all data will be overwritten at this point. It is not possible to undo a backup restore.
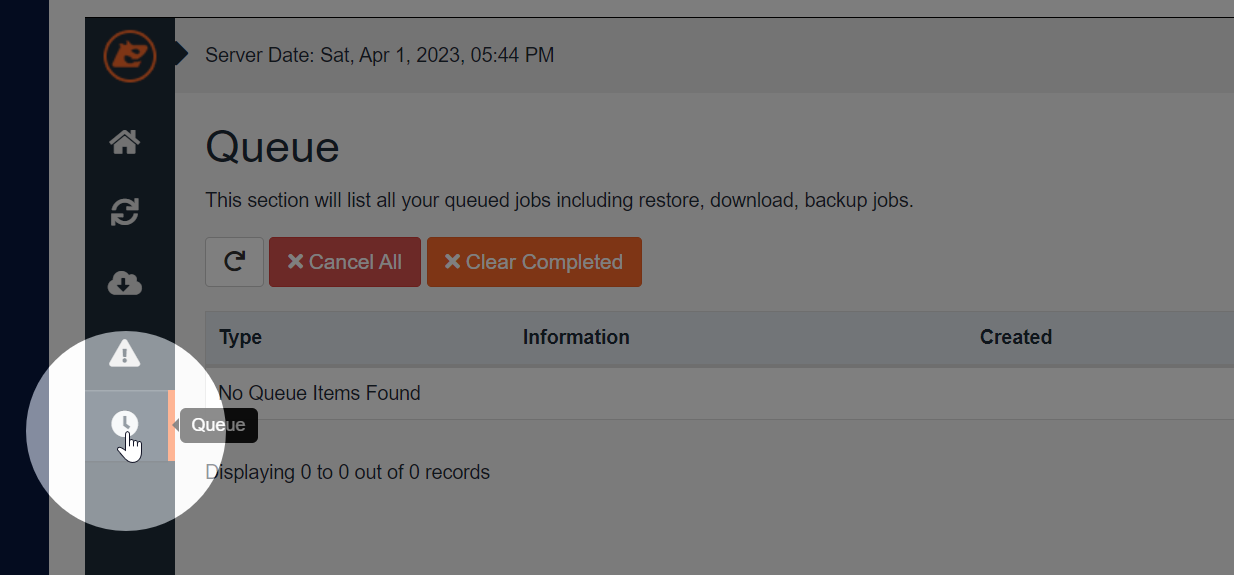
You can monitor the restoration process in the Queue menu.
-
How to unblock your IP from our firewall
There are many reasons why your IP may become listed in our firewall. Maybe you forgot your password and tried to log in too many times, or maybe you triggered our security software with a PHP script.
If your IP address is repeatedly being blocked, you should resolve the root cause of this. Most often this is caused by multiple failed email logins. You should ensure that email clients on every device on your network (mobiles, laptops, desktops etc.) are configured with the correct username and password to prevent failed logins being detected by our firewall. The IP unblock tool will tell you the reason for the block to help you identify the root cause.
We offer a simple way to unblock their IP address directly through the client area.
- Log into the Zume client area.
- Go to the Unblock IP Address page under the Support dropdown.
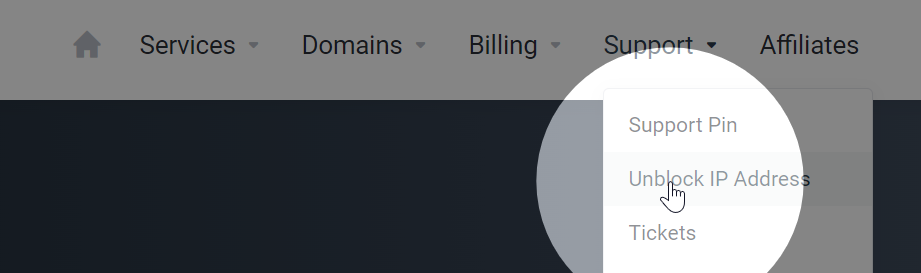
- Enter your IP address in the provided field. To find your IP address, you can visit a website like whatismyip.com.
- Click the Check for IP Block button. If your IP address was blocked, you should now have access to your website.

If you are still facing issues after unblocking your IP address, please read this article about what to do if your website seems to be down.
-
Will you increase my renewal price?
The price that is displayed on our website is the price you will pay. Unlike our competitors, you will not get to the checkout page only to find the “monthly price” is only valid when pre-paying for 3 years.
While we take every measure to ensure your renewal price remains consistent, sometimes we may be forced to change our pricing model based on increasing supplier costs, currency fluctuations or other economic conditions such as inflation.
We will only ever make changes to our pricing model when it is reasonable and justified to do so, and will always provide notice in advance.
-
Can I get a refund?
We offer a 14-day money-back guarantee on all Website, Business, WordPress and Reseller hosting services.
If you’re having an issue with your service, we would love to have the opportunity to put it right. Please open a support ticket if you have any questions or issues.
Should you be unsatisfied with your hosting service, you can request a full refund within the first 14 days after purchase. To submit a refund request, please open a ticket here.
Unfortunately, domain names, IP addresses, software licenses and management/hourly-billed services are exempt from our money-back guarantee. If you order a hosting plan with a free domain, the cost of the hosting plan minus the retail cost of the domain will be refunded.
Refunds can take up to 14 days to process.
-
Which payment methods do you accept?
We accept the following payment methods:
For GBP payments
- Card (Visa/Mastercard/Amex)
- PayPal
- UK Bank Transfer (Faster Payments)
For EUR payments
- Card (Visa/Mastercard/Amex)
For USD payments
- Card (Visa/Mastercard/Amex)
- PayPal
Please view your invoice for payment instructions.
-
When will my renewal invoice be generated?
An invitation renewal is generated 14 calendar days ahead of due date for all services.
Overdue accounts will be suspended within 3 days of non-payment, and terminated within 14 days.